Structural Dryouts in Palm Bay After Plumbing Leaks: A Step-by-Step Explanation
Plumbing leaks in Palm Bay rarely stay simple. What starts as a slow drip behind a bathroom wall or a loose supply line under a kitchen sink can quietly saturate drywall, framing, insulation, and flooring. By the time the leak is discovered, the visible water may be minimal — but the structural materials behind the scenes are often heavily affected.
In Palm Bay’s humid coastal climate, trapped moisture doesn’t dry on its own. With high year-round humidity, frequent rain, and constant AC usage, water inside walls and floors lingers longer than most homeowners expect. That’s why structural dryouts are so important after plumbing leaks. They focus on drying the building materials themselves — not just the air inside the room.
Below is a clear, step-by-step breakdown of how structural dryouts work and why they protect Palm Bay properties.
What the Issue Really Is
When a plumbing leak occurs, water doesn’t just sit on the surface. It absorbs into porous materials:
- Drywall
- Wood framing
- Subflooring
- Baseboards
- Insulation
- Cabinet backs and toe-kicks
Drywall can wick moisture upward several inches. Wood framing swells and holds water internally. Insulation traps damp air and slows evaporation.
Even if the visible water is cleaned up quickly, moisture inside these materials can remain for days or weeks without proper drying. That hidden moisture is what causes long-term structural issues.
Why This Happens So Often in Palm Bay
Palm Bay homes face unique environmental challenges:
- High ambient humidity
- Frequent afternoon rainstorms
- Hurricane season moisture exposure
- High water tables
- Nearly constant AC operation
When indoor air is already humid, evaporation slows dramatically. Opening windows often makes things worse because outdoor air carries even more moisture inside.
Older Palm Bay homes, especially those with slab foundations and aging plumbing systems, are particularly vulnerable to hidden moisture migration after even minor leaks.
Common Signs Homeowners Notice
Plumbing leaks don’t always create dramatic damage. Most homeowners notice subtle symptoms first:
- Musty odors near affected rooms
- Slightly warped baseboards
- Paint bubbling along lower walls
- Flooring that feels uneven
- Cabinets swelling at the bottom
- Indoor air feeling heavier than usual
Sometimes, the leak has already stopped — but the materials are still wet.
That’s when structural drying becomes necessary.
Why DIY Drying Doesn’t Work
After discovering a plumbing leak, many property owners try:
- Household fans
- Towels and mops
- Small retail dehumidifiers
- Surface cleaning
While these steps may help remove visible water, they don’t address embedded moisture inside wall cavities or subfloors.
Common DIY limitations include:
- Air not reaching inside walls
- Insufficient dehumidification capacity
- No moisture monitoring
- Surface dryness masking internal saturation
Structural drying requires controlled airflow and professional-grade dehumidification.
Step-by-Step Structural Dryout Process
Step 1: Stop and Confirm the Leak Is Repaired
Before drying begins, the plumbing issue must be fully resolved. This may involve repairing a pipe, tightening connections, or replacing a faulty valve. Verification ensures water won’t re-enter the system during drying.
Step 2: Moisture Inspection and Mapping
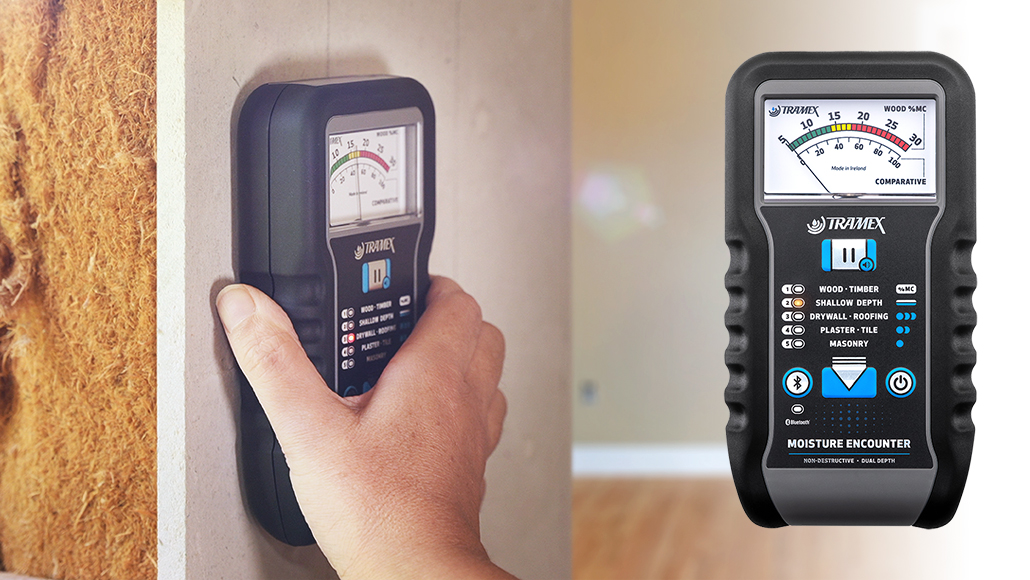
Technicians use specialized tools to determine how far moisture has traveled:
- Moisture meters to measure drywall and wood saturation
- Thermal imaging to detect temperature differences behind walls
- Hygrometers to measure indoor humidity
This mapping process identifies the full scope of damage, even in areas that appear dry on the surface.
Step 3: Controlled Access to Wall Cavities (If Needed)
If moisture is trapped inside walls, small “flood cuts” may be made near the base of drywall. This allows air movement into the cavity without removing entire wall sections.
Access is done strategically and only when necessary.
Step 4: Air Mover Installation
Air movers are placed to direct airflow across wet materials. When positioned correctly, they accelerate evaporation from drywall, framing, and flooring.
Placement is critical. Improper airflow can leave pockets of moisture behind.
Step 5: Commercial-Grade Dehumidification
Low Grain Refrigerant (LGR) dehumidifiers extract moisture from the air continuously. As wet materials release water vapor, the dehumidifier captures it.
In Palm Bay’s humid environment, this step is essential. Without it, materials may never fully dry.
Step 6: Air Scrubbing (When Necessary)
If microbial growth is suspected or confirmed, HEPA air scrubbers may be used to filter airborne particles during the drying process. This helps maintain indoor air quality and prevent cross-contamination.
Step 7: Daily Monitoring and Adjustments
Moisture levels are checked daily. Equipment placement may be adjusted based on drying progress. The goal is steady reduction of moisture content in all affected materials.
Drying continues until materials return to safe levels appropriate for Florida climate conditions.
Step 8: Final Verification
Before equipment removal, moisture readings confirm that structural components are fully dry.
Only after verification should reconstruction or cosmetic repairs begin. Repairing too soon traps moisture inside walls and can cause repeat issues.
Hidden Areas Often Affected in Palm Bay Homes
In plumbing leak cases, moisture often spreads beyond the obvious source. Common hidden areas include:
- Adjacent rooms sharing framing cavities
- Under tile where thinset holds moisture
- Beneath laminate or engineered wood flooring
- Inside insulation within exterior walls
- Behind built-in cabinetry
- Around AC air handlers
Water follows gravity and structural pathways. It rarely stays confined to one spot.
Why Structural Dryouts Protect Property Value
Incomplete drying leads to long-term problems:
- Warped framing
- Floor instability
- Insulation breakdown
- Ongoing musty odors
- Repeat repairs
Structural dryouts restore building materials to stable conditions. This prevents hidden deterioration and reduces the likelihood of future moisture-related damage.
In Palm Bay, where humidity is already high, thorough drying is not optional — it’s necessary.
Preventing Future Plumbing Leak Damage
After a structural dryout, prevention becomes the focus.
Homeowners in Palm Bay can reduce risk by:
- Inspecting plumbing connections annually
- Replacing aging supply lines
- Monitoring indoor humidity levels
- Servicing AC systems regularly
- Checking cabinets and baseboards for subtle swelling
- Scheduling inspections after heavy rain or storm events
Early detection dramatically reduces drying time and cost.
Why Local Experience Matters
Structural drying in Palm Bay is different from drying in drier states. Professionals must understand:
- Coastal humidity behavior
- Slab foundation moisture retention
- Florida framing materials
- Seasonal storm impact
- AC condensation patterns
Experience with local environmental conditions allows more accurate drying plans and faster stabilization.
Inspections and More FL works throughout Palm Bay, Cocoa, Melbourne, Merritt Island, Sanford, and nearby communities. Understanding how Florida homes respond to moisture helps ensure structural dryouts are complete and effective.
A Practical Next Step
If you’ve experienced a plumbing leak in your Palm Bay property and notice lingering dampness, musty odors, or material changes, a structural dryout evaluation is the safest course of action.
The sooner embedded moisture is addressed, the easier and less disruptive the recovery process becomes.
Structural drying isn’t just about removing water — it’s about restoring the stability of your home and protecting it from long-term moisture damage in Florida’s humid environment.