Dehumidification in Cocoa Following Hurricane Damage: A Step-by-Step Explanation
After a hurricane hits Cocoa, the obvious damage gets all the attention first: roof issues, downed branches, wet drywall, soggy carpet, and that unmistakable “everything feels damp” vibe. But even when the visible mess gets cleaned up, the real danger often lingers quietly in the structure.
In Cocoa’s coastal humidity, hurricane damage almost always leaves behind elevated moisture — inside walls, under flooring, in insulation, and in the air itself. That’s why professional dehumidification becomes a key step after hurricane events. It’s not just comfort control. It’s structural protection.
Step 1: Safety and Source Control Comes First
Before any drying equipment goes in, professionals confirm the home is safe and that new water isn’t still entering.
That means checking for:
- Active roof leaks
- Broken windows or failed seals
- Standing water in rooms or crawl spaces
- Electrical hazards
- HVAC system damage
Dehumidification is pointless if water intrusion is still ongoing. The first job is to stop the source.
Step 2: Initial Walk-Through and Damage Mapping
Next comes a structured inspection of where moisture likely traveled.
In Cocoa hurricane scenarios, professionals map:
- Roof-to-attic intrusion zones
- Exterior wall saturation areas
- Sliding door and window leak paths
- Flooring edges and slab perimeter zones
- Bathrooms, kitchens, and laundry areas (plumbing + hurricane stress = surprises)
This isn’t guessing. Hurricanes drive water in weird directions. Mapping the path helps target drying properly.
Step 3: Measure, Don’t Guess (Moisture and Humidity Testing)
Dehumidification decisions rely on data.
Professionals measure:
- Indoor relative humidity (RH)
- Moisture content in drywall and wood framing
- Flooring/subfloor moisture levels
- Attic insulation dampness
- Crawl space humidity (if present)
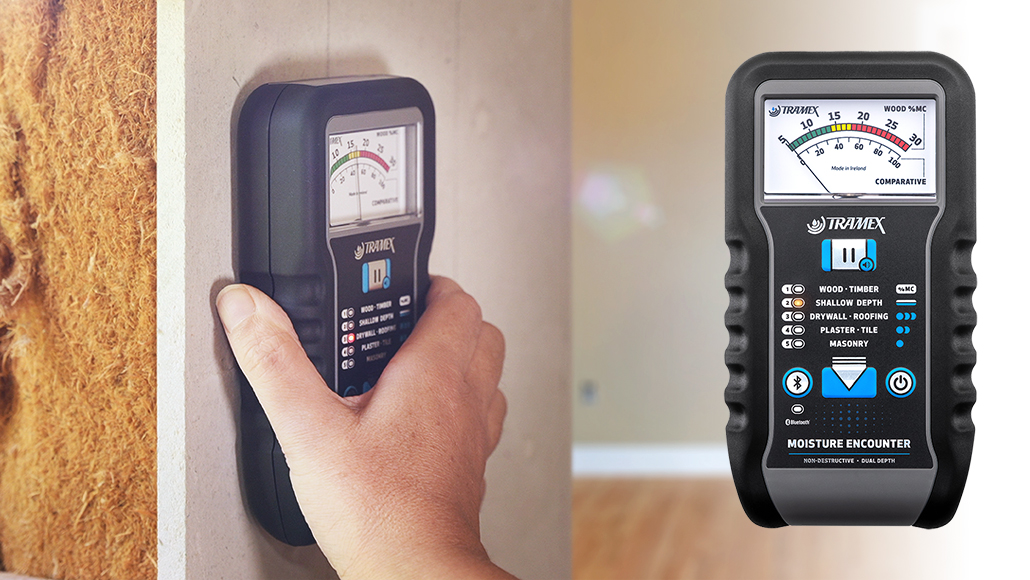
Tools commonly used:
- Moisture meters (pin and non-invasive)
- Thermal imaging (to locate hidden wet zones)
- Hygrometers (humidity readings)
This step determines whether the problem is mostly “air humidity,” “material saturation,” or both.
Step 4: Choose the Right Dehumidification Strategy
Not all dehumidification is the same. The approach depends on the type and extent of damage.
In Cocoa homes after hurricanes, professionals typically choose from:
- Refrigerant dehumidifiers (effective in standard warm indoor conditions)
- Desiccant dehumidifiers (useful for specific conditions or tighter temperature control needs)
Most residential hurricane recovery jobs rely on industrial refrigerant dehumidifiers, but the choice depends on the readings and environment.
Step 5: Position Equipment for Maximum Moisture Removal
Placement matters more than most people think.
Professionals position dehumidifiers to:
- Create a consistent air circulation path
- Pull damp air from the wettest zones
- Avoid short-cycling (dry air going in and out too quickly without treating the whole space)
Often, dehumidifiers are paired with air movers (air blowers) to push moisture out of saturated materials and into the air where the dehumidifier can remove it.
In Cocoa hurricane cases, equipment often targets:
- Wall bases along exterior walls
- Hallways that channel airflow
- Rooms with the most moisture migration
Step 6: Establish Containment (If Needed)
If certain areas have significant contamination risk (like damp insulation or visible mold), professionals may isolate zones to prevent airborne spread.
Containment might include:
- Plastic barriers
- Negative air pressure setups
- HEPA air scrubbing during drying
This step is common when hurricane moisture has been sitting long enough to raise mold concerns.
Step 7: Run Controlled Drying Cycles (Not Just “Let It Run”)
Professional dehumidification isn’t “set it and forget it.”
Technicians manage drying by:
- Keeping doors positioned intentionally (open or closed depending on airflow plan)
- Adjusting equipment placement as conditions change
- Monitoring temperature and RH daily
- Ensuring the AC system isn’t fighting the drying plan
The goal is to create an environment where materials release moisture steadily, and the air stays dry enough to keep pulling more moisture out.
Step 8: Daily Monitoring and Moisture Verification
This is the make-or-break step.
Professionals re-check:
- RH levels (targeting a stable, safe range)
- Moisture content in wood framing and drywall
- Subfloor readings, especially near slab edges
- Attic conditions if roof intrusion occurred
Thermal imaging may be repeated to confirm there are no hidden pockets still holding water.
If readings stall, adjustments are made — more airflow, different equipment placement, or opening specific cavities if moisture is trapped.
Step 9: Address Hidden Moisture Zones (Walls, Floors, Attics)
Hurricane damage often leaves moisture in places you don’t see.
If moisture remains high in structural areas, professionals may recommend:
- Air blower installation along wall bases
- Drying mats for hardwood or subfloors
- Targeted attic drying if insulation is damp
- Controlled opening of wall cavities when necessary
This prevents the classic Florida problem: everything looks fine until musty odors return two weeks later.
Step 10: Confirm Dry Standard Before Repairs
Here’s the part homeowners often rush — and regret later.
Before rebuilding or repainting, professionals confirm:
- Moisture levels are back to safe baselines
- Humidity is stabilized
- No active damp pockets remain
If repairs happen too early, moisture gets trapped behind new drywall or under flooring — which can lead to recurring mold and repeat damage.
Step 11: Long-Term Prevention After Hurricane Recovery
Once the home is dry, Cocoa property owners can reduce recurrence by focusing on moisture control.
Practical prevention steps include:
- Maintain roof flashing and seals annually
- Inspect attic after major storms
- Keep gutters and drainage working properly
- Monitor indoor humidity (ideal range: 45–55%)
- Service HVAC systems (especially drain lines and duct insulation)
- Consider moisture monitoring devices in high-risk areas
Homes in Merritt Island and Melbourne face similar hurricane patterns, but Cocoa’s combination of coastal humidity and fast-moving inland storms makes post-event drying especially time-sensitive.
Inspections and More FL often sees the same lesson: the homes that recover best are the ones that verify dryness with readings — not with “it feels dry.”
A Calm, Practical Takeaway
Dehumidification in Cocoa after hurricane damage is a structured, measurable process designed to protect the home long after the storm passes.
It works because it:
- Lowers indoor humidity
- Pulls moisture out of saturated materials
- Prevents mold-friendly conditions
- Supports safe repair and rebuilding
In Florida, especially after hurricanes, moisture control is never optional. It’s the difference between a clean recovery and recurring damage.